The biggest mistake ruining your night sky shots is poorly managing camera settings like ISO, aperture, and exposure time. If you don’t adjust these properly, your images can turn out blurry, washed out, or underexposed. Inadequate focus or not controlling lens flare can also ruin sharpness and clarity. Mastering these settings makes a huge difference in capturing vibrant, detailed photos of the stars. Keep going, and you’ll discover how to avoid these common pitfalls and improve your astrophotos.
Key Takeaways
- Using incorrect exposure times can cause star trails or blurry images, ruining sharp night sky shots.
- Failing to properly focus can make stars appear as blurry spots instead of pinpoint sources.
- Overlooking lens flare control, such as neglecting lens hoods, introduces haze and reduces image clarity.
- Not balancing ISO and aperture may result in noisy or washed-out photos, compromising detail.
- Rushing camera settings without testing or practice often leads to subpar, unsharp astrophotos.
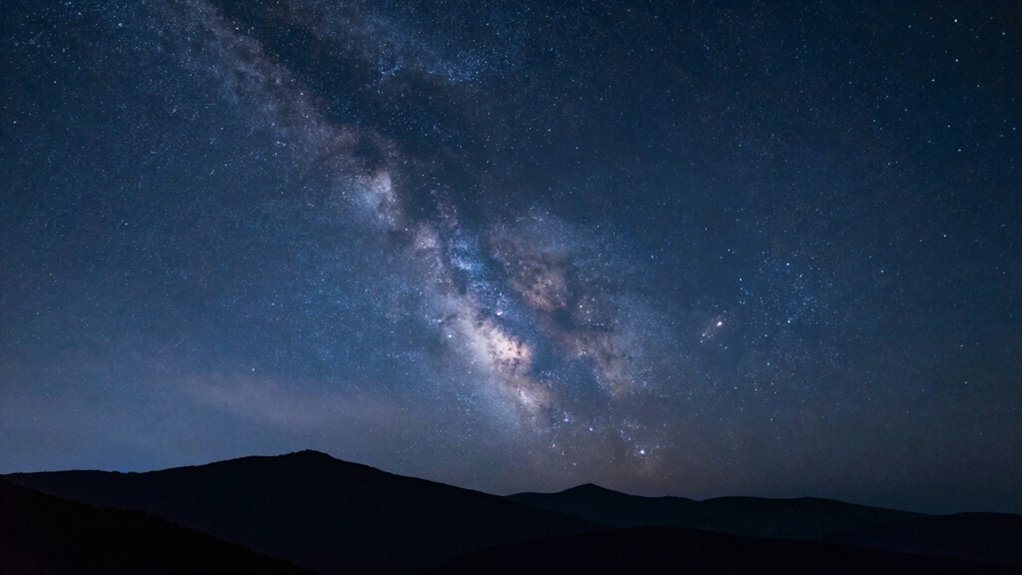
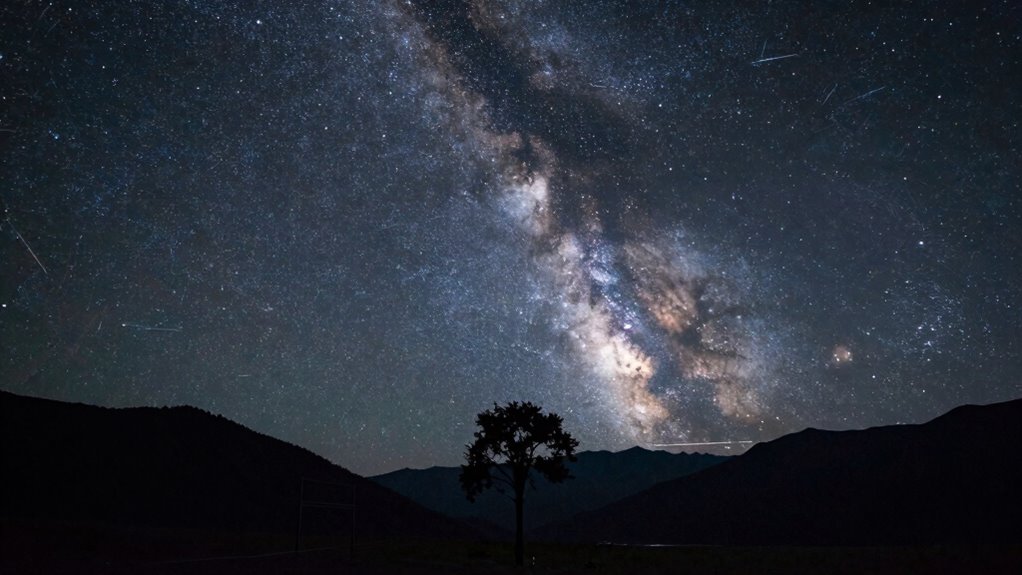
Astrophotography can be incredibly rewarding, but one common mistake beginners often make is neglecting proper camera settings. When you’re out under the night sky, your goal is to capture the stars’ beauty, but if your camera isn’t set correctly, your shot can quickly turn into a frustrating blur of wasted effort. One frequent issue is failing to control lens flare, which occurs when stray light from bright stars or distant sources hits your lens at certain angles. Lens flare can create unwanted streaks or hazy spots in your image, obscuring the stars you want to highlight. To avoid this, you need to pay attention to your lens orientation and consider using a lens hood or shielding your lens from direct light sources. These simple steps help keep lens flare to a minimum, allowing your stars to shine clearly. Additionally, understanding the impact of camera settings on your images is crucial for achieving optimal results. Properly adjusting your ISO, aperture, and exposure time can drastically influence the clarity and brightness of your photos. Another essential aspect is your camera’s exposure time. Long exposure photography is vital for capturing faint celestial objects, but if you don’t set the right exposure, your images can suffer from star trails or a washed-out appearance. When you increase the exposure time to gather more light, you risk elongating the stars into streaks instead of points, unless you’re intentionally aiming for star trails. To prevent this, you should use a sturdy tripod and set your camera to a specific exposure duration—typically around 15 to 30 seconds, depending on your lens focal length. This balance allows you to gather enough light while keeping the stars as pinpoint sources of light, rather than streaks caused by Earth’s rotation.
Controlling lens flare with proper orientation and shielding ensures clear, stunning night sky images.
Many beginners overlook the importance of manually adjusting other settings like ISO and aperture, which also influence your shot’s clarity and brightness. A higher ISO makes your camera more sensitive to light, but it can introduce noise, so find a balance that suits your camera’s capabilities. Similarly, a wide aperture lets in more light, but if it’s too wide, you may get a softer focus or unwanted aberrations. Fine-tuning these settings in combination with your exposure time and lens orientation helps you produce sharp, detailed images of the night sky. Remember that sensor sensitivity and proper calibration are key components in achieving high-quality astrophotos. Additionally, mastering focusing techniques under low-light conditions can greatly enhance the sharpness of your star images. It’s also important to experiment with different white balance settings to accurately capture the true colors of celestial objects. In essence, the biggest mistake you can make in astrophotography is not paying attention to your camera settings—particularly exposure time and lens management. By controlling lens flare and choosing the right long exposure, you’ll considerably improve your night sky shots. It’s about being deliberate with your adjustments, understanding the behavior of your gear, and practicing patience. When you get these settings right, your photos will show the stars as they truly are—bright, crisp, and awe-inspiring.
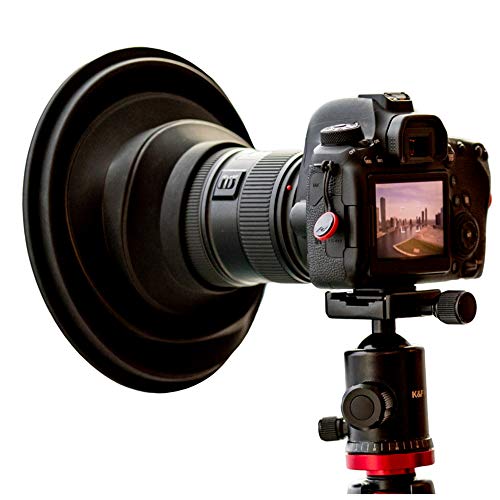
Original ULHgo Ultimate Lens Hood – Camera Lens Anti Reflection Lens Hood -Lens Skirt Antireflection – DSLR Rubber Lens Hoods – Fits 49mm to 82mm Lens Filter Thread – from Kickstarter
Universal Fit – ULHgo is the medium sized and most popular ULH lens hood and will fit any…
As an affiliate, we earn on qualifying purchases.
As an affiliate, we earn on qualifying purchases.
Frequently Asked Questions
How Can I Prevent Star Trails in My Photos?
To prevent star trails, you should keep your exposure time short, ideally under 20 seconds. Use proper lens calibration to guarantee sharp images and avoid focus issues. Find a dark sky location away from light pollution, which can cause unwanted haze and trails. Additionally, consider using a wider aperture and high ISO settings, but keep exposure times brief to maintain pinpoint stars and prevent trails.
What’s the Best Time to Photograph the Night Sky?
You should photograph the night sky during a new moon or when the moon is a thin crescent, minimizing moonlight that washes out stars. Plan your shoot around celestial navigation, using clear, dark nights with minimal light pollution. Check moon phases in advance to pick the darkest nights, and aim for late-night hours when the sky is most stable and stars are brightest. This guarantees sharp, stunning astrophotography shots.
How Do I Choose the Right Camera Settings?
Did you know that using the right camera settings can double your night sky photo quality? To choose the best, select a wide-angle camera lens with a fast aperture to capture more light. Use exposure techniques like a long shutter speed—around 15-30 seconds—while keeping ISO low to avoid noise. Adjust your focus manually to infinity, and shoot in RAW for maximum editing flexibility.
Is a Tripod Necessary for Astrophotography?
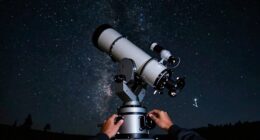
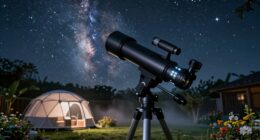
Yes, a tripod is vital for astrophotography because it guarantees camera stability, preventing blurry images during long exposures. Without it, your shots will likely suffer from motion blur. Additionally, choosing the right lens is essential; a wide-angle lens captures more of the night sky, making your images more stunning. Using a sturdy tripod combined with proper lens selection helps you achieve sharp, clear, and awe-inspiring night sky shots.
How Can I Improve the Clarity of Distant Celestial Objects?
To improve the clarity of distant celestial objects, start with proper lens calibration to guarantee your images are sharp and focused. Use noise reduction techniques during post-processing to minimize grain and enhance details. Additionally, choose a fast lens with a wide aperture to gather more light, and keep your camera stable with a tripod. These steps help capture clearer, more detailed night sky shots, revealing celestial objects vividly.
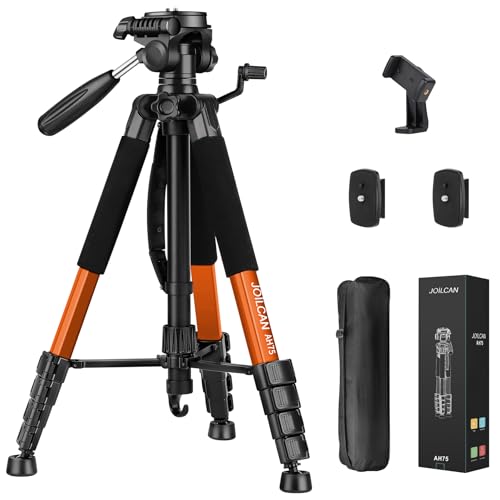
JOILCAN Tripod Camera Tripods, 74" Tripod for Camera Cell Phone Video Photography, Heavy Duty Tall Cameras Tripod Stand, Professional Travel DSLR Tripods Compatible with Canon iPhone, Max Load 15 LB
【Lightweight & Easy to Adjust】Upgraded trapezoidal flap lock tripod adjusted from 19.5" and 74" to meet different height…
As an affiliate, we earn on qualifying purchases.
As an affiliate, we earn on qualifying purchases.
Conclusion
Now that you know the common mistake that can ruin your night sky shots, are you ready to avoid it and capture truly stunning images? Remember, paying attention to focus, stability, and settings makes all the difference. Don’t let a simple oversight hold back your astrophotography potential. With a little extra care and practice, you’ll be able to produce breathtaking starry scenes that truly stand out. So, are you prepared to elevate your night sky photography to the next level?

SVBONY SV105 Telescope Camera, 1.25" USB2.0 IMX307 CMOS Color Astrophotography Camera, Electronic Telescope Eyepiece for Telescope, Suitable for Astrophotography Beginners
SV105 telescope camera is the basic method for starting astronomical imaging; you can use the SV105 electronic telescope…
As an affiliate, we earn on qualifying purchases.
As an affiliate, we earn on qualifying purchases.

Sky-Watcher Star Adventurer 2i Pro Pack – Motorized DSLR Night Sky Tracker Equatorial Mount for Portable Nightscapes, Time-Lapse and Panoramas – Wi-Fi App Camera Control – Long Exposure (S20512)
Portable nightscape tracking platform: Motorized portable tracking platform perfect for capturing incredible detail of the Milky Way, eclipses…
As an affiliate, we earn on qualifying purchases.
As an affiliate, we earn on qualifying purchases.